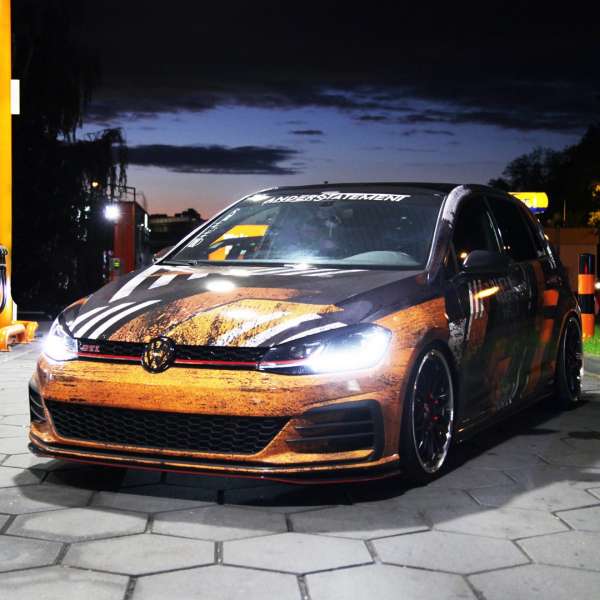
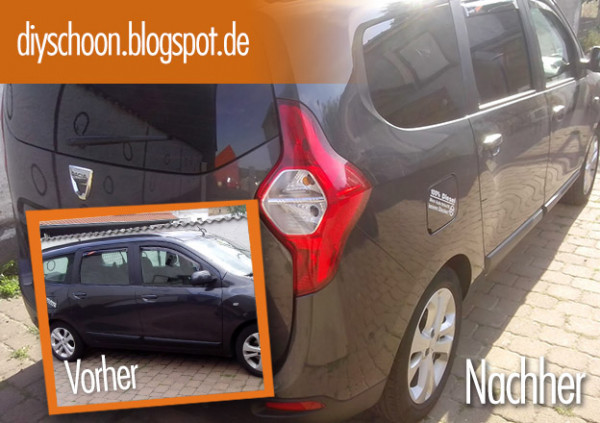
The windows were foiled with precisely fitting films (PROSHAPE 3D) from FOLIATEC.com, with the film "Blacknight Reflex - Superdark". This film has a light transmission of 5%, is 55% heat repellent and offers 99% UV protection.
APPLICATION ON A "DACIA LODGY
Without tint
Included in the package:
- Films for windows from B-pillar to the rear
- squeegee
- Mounting liquid JOY
- Knife
additionally needed
- Spray bottle
- Distilled water
- hair dryer
- adhesive tape
- cleaning cloths
FILMING PREPARATION
Mix the assembly liquid with distilled water.
1/3 JOY with 500ml of water.
We mixed the complete bottle of assembly liquid with the water, because the dosage is easier that way.
The mixture is now poured into a spray bottle and is ready to use.
STEP 1 / CLEANING
Clean all windows thoroughly from both sides so that there is no dirt or similar on the windows.
discs. Use the assembly fluid for this purpose!
STEP 2 / ADJUST
Spray the outside of the window. Apply 2 strips of adhesive tape to the film to facilitate the work of removing the protective film. The film is placed on the pane so that you could read the stamp. Now the foil can be moved as desired. Once the film is aligned, it is lightly pressed against the pane by painting an "H" on the film with your hand or the squeegee. If you notice that the film does not fit, you can trim it with the enclosed knife.Workshop_PROSHAPE4
Please note that the film must still be pushed under the rubbers and wipers on the mobile windows!
STEP 3 / CLEANING THE INSIDE OF THE WINDOW
Thoroughly clean the inside of the pane to be covered once again with the liquid.
There should be no dirt or dust left. It is best to wipe in one direction (from top to bottom).
Once everything has been cleaned, spray the entire surface again generously and leave it as it is.
STEP 4 / REMOVE THE PROTECTIVE FILM AND APPLY IT ON THE INSIDE
The protective film is removed by holding one adhesive strip to the vehicle and pulling the other away from the vehicle.
Now spray the film with the installation fluid. Now carefully remove from the window and apply on the inside with the wet side.
STEP 5 / ALIGN AND FIX
The film can now be easily aligned. Now align it in such a way
that all areas are covered.
Once the correct position has been established, the film is squeegeed by forming an optical "H" with the squeegee.
Now the complete moisture is squeegeed out (from the center upwards and downwards).
Everything must be squeegeed until it is free of bubbles and wrinkles. If a wrinkle does form at the end, it is heated with a hair dryer. The wrinkle will then curl and can now be smoothed out with the squeegee.
TIP FOR THE MOBILE SIDE WINDOW!
Drive the pane down one third, place the film slightly below the edge and squeegee the upper area. Now the pane can be carefully moved up. The remaining foil is now carefully pushed under the seals and wipers. Now everything can be squeegeed out.
STEP 6 / LET IT DRY AND YOU'RE DONE!
The panes with the foils must now dry completely. This takes about 7 days. During this time, please do not drive the windows and leave the rear window heating off. If your windows have a dotted, black edge, then it may be that you have to squeegee the areas several times.
free border at the movable panes
Comparison with open window
The result is simply SUPER. The bonding is simple and easy to do yourself. The films fit perfectly without reworking. There are no bubbles or wrinkles.
Unfortunately, it is not possible to read the filling level of the JOY, so we used the entire contents of the bottle for mixing.
These foils and tinting levels are available: click here


